How to Install a Ball Valve on a Plastic Piping System?
Ball valve installation study for plastic piping systems
This article will take an in-depth look at the installation process of ball valves in plastic piping systems. Considering that our readers are experts in this field, we will focus on advanced techniques and details to ensure that each step is explained in detail.
1. Matching of ball valve selection and plastic pipes
When we consider installing a ball valve in a plastic piping system, we must first ensure that the material of the ball valve is compatible with the pipe material. For example, PVC pipes require matching PVC ball valves. In addition, pressure rating and temperature range are also key factors in selection ball valve manufacture.
2. Preparation: Tools and Materials
Make sure all necessary tools and materials are available. In addition to basic plumbing tools and cutters, have the appropriate solvents, cleaners, and sealing materials on hand.

3. Pipeline preparation
Before installing a ball valve, make sure the pipe is clean, smooth and free of damage. Clean the inside and outside of the pipes thoroughly with cleaner and wipe dry with a cloth, gate valve manufacture.
4. Measurement and marking
Accurately measure the location where the ball valve needs to be installed and mark it on the pipe. Make sure the markings are clear and easy to read.
5. Cutting and preparing interfaces
Using a special plastic pipe cutter, cut the pipe according to the previous markings. Make sure the cut is smooth and free of burrs. Next, use solvent to clean the cut and prepare it for the next connection, globe valve manufacture.
6. Install ball valve
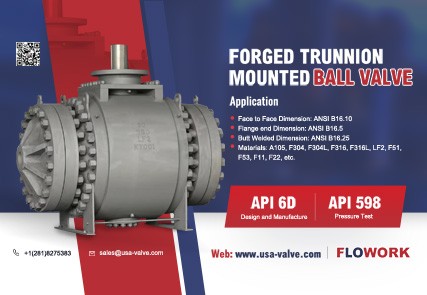
Apply special solvent to the interface and quickly push the ball valve into place. Make sure the ball valve is fully aligned with the pipe and use appropriate force to make a tight connection. Avoid excessive rotation or twisting to avoid damage to the valve or pipe, api 6d ball valve.
7. Inspection and testing
After installation, use appropriate tools to check that the connections are tight. Next, perform a pressure test to ensure that the ball valve and entire system can withstand the predetermined pressure.
Video Link Address: https://www.youtube.com/watch?v=PnafJX-e2KI
8. Follow-up work and maintenance
After installation, it is recommended to perform regular inspections and maintenance on the system to ensure its long-term stable operation. Any leaks or other problems should be repaired promptly, check valve manufacture.
Installing ball valves for plastic piping systems is a process that requires specialized skills and experience. Through the detailed guidance in this article, we hope to provide valuable references and suggestions for expert readers. However, various unknown situations may be encountered in actual operation, so it is recommended to conduct in-depth research and consult experts in the relevant field before proceeding with installation.


